Installing your own rustic open shelving is a rewarding project that adds personal character to your kitchen. With proper planning and the right tools, you can create beautiful, sturdy shelving that lasts for years.
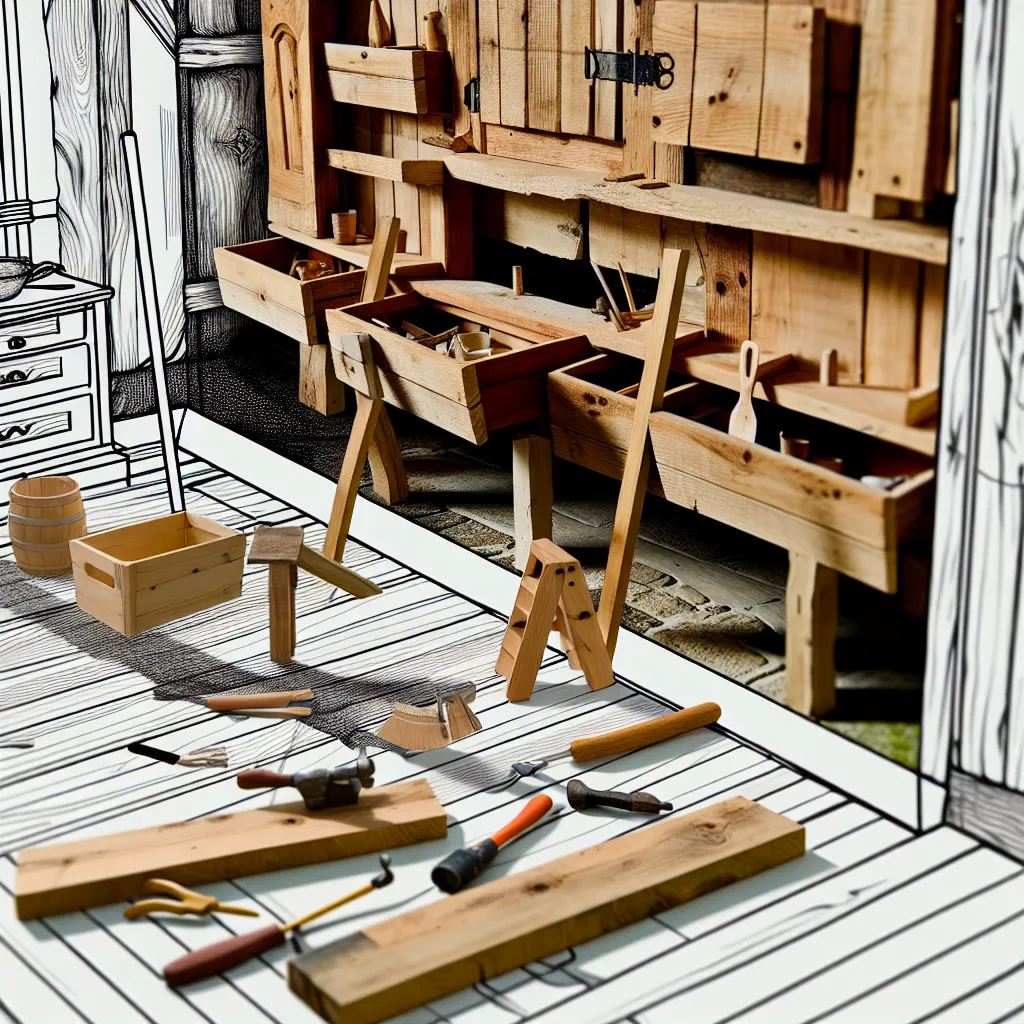
Tools You'll Need
- Level (at least 24 inches)
- Stud finder
- Power drill with bits
- Tape measure
- Pencil
- Wood screws (appropriate length for your wall type)
- Shelf brackets or floating shelf hardware
- Sandpaper (120-220 grit)
- Wood finish or natural oil
Planning Your Layout
Measure your wall space carefully. Standard shelf depth for kitchen items is 10-12 inches. Space shelves 12-18 inches apart for optimal accessibility. Consider traffic flow—leave at least 36 inches clearance in walkways.
Finding Wall Studs
Always mount shelving into wall studs for maximum strength. Use your stud finder to locate studs, marking them lightly with pencil. Studs typically sit 16 or 24 inches apart. Plan bracket placement to align with studs whenever possible.
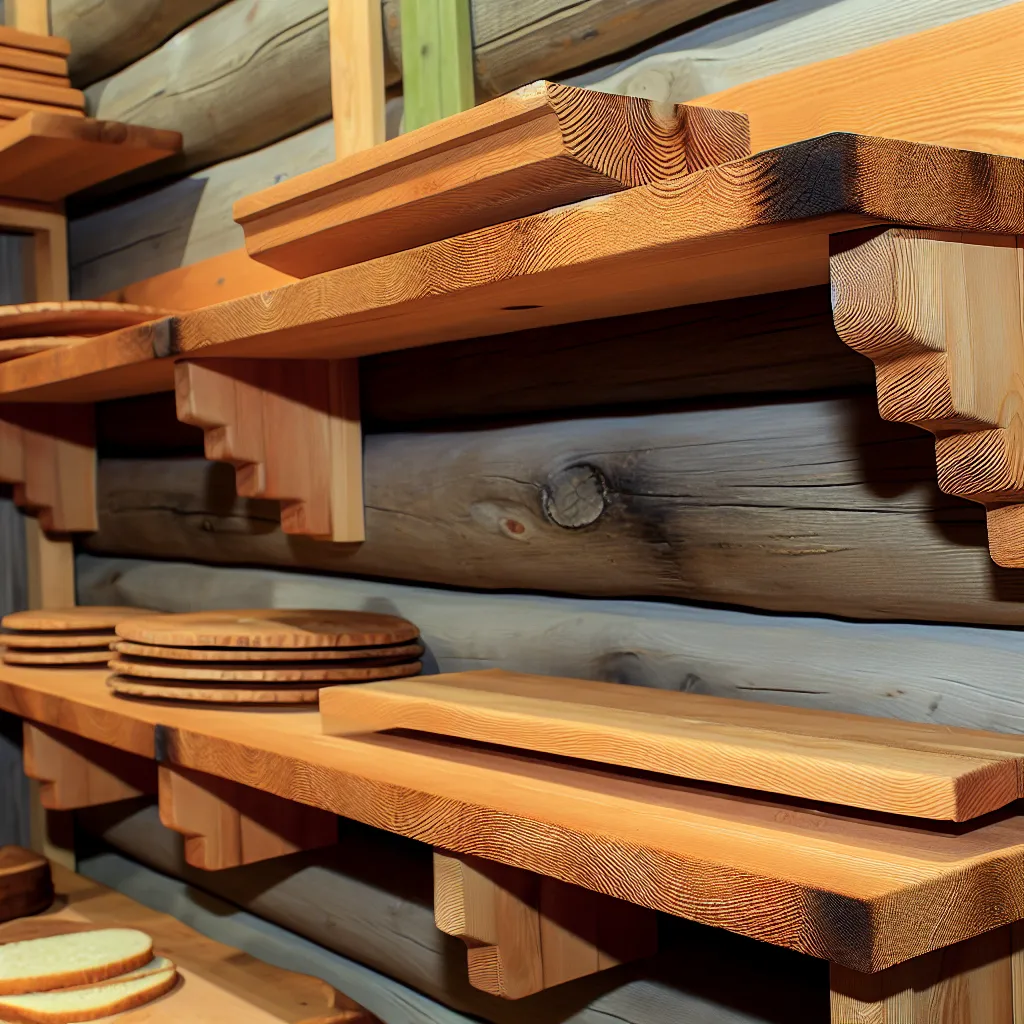
Installing the Shelves
Mark bracket positions using your level to ensure perfectly horizontal shelves. Drill pilot holes to prevent wood splitting. Attach brackets securely to wall studs with appropriate screws. Place shelf boards on brackets, securing from underneath if needed. Check level one final time before declaring the project complete.
Finishing Touches
Sand any rough edges on shelf boards with 120-grit sandpaper, followed by 220-grit for smoothness. Apply food-safe mineral oil or your chosen finish in thin, even coats. Allow proper drying time between coats. This protection extends shelf life while enhancing natural wood beauty.